June 26th 2021
Getting started with JAMstack
A quick start guide to the JAMstack using Nuxt.js and NetlifyCMS.
Introduction
JAMstack has been all the rage recently --and for good reason-- because it enables developers and content creators to move a lot faster with getting their content online.
There are a lot of options for the stacks to use with JAMstack, you first need a frontend --this usually being an SSG (Static Site Generation) enabled javascript framework-- and a backend to manage all the dynamic data you want to display on your site, simple right?
Short answer is no. There are a lot of options for both requirements, and if you’re not a seasoned frontend developer it’s easy to get lost due to the amount of options available.
But don’t panic just yet! In this article I’ll try to make it as simple as possible to start creating your own JAMstack website.
What is JAMstack anyway?
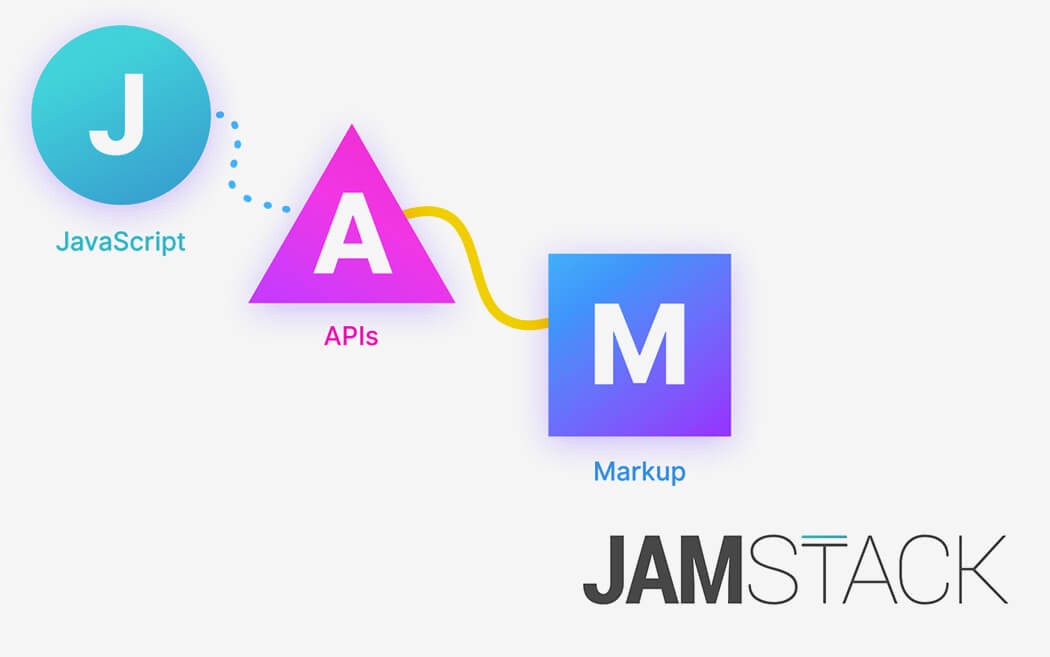
Jamstack is an architecture designed to make the web faster, more secure, and easier to scale. It builds on many of the tools and workflows which developers love, and which bring maximum productivity.
The core principles of pre-rendering, and decoupling, enable sites and applications to be delivered with greater confidence and resilience than ever before.
This is how jamstack.org (a Netlify-started movement) explains it, which is a very good resource to get familiar with the technology, but in this article we’ll get started by doing instead of reading.
Choosing our stack
First we need to choose a frontend framework with SSG to get started with. There are two popular choices in this step, those being React and Vue, with each of them having separate tools to use for SSG.
Some examples for React based tools being:
And some Vue based tools being:
We’ll be using Nuxt.js which is a fantastic and easy to use solution, with a lot of starter templates, an amazing community, and stellar documentation.
Next we’ll be choosing a headless CMS to hold our dynamic data. There are a lot of options here too like:
We’ll be using NetlifyCMS which is the easiest, fastest, and cheapest solution to get started with. Being git hosted as opposed to something like Strapi which you need to host on something like Digital Ocean or Heroku, and being completely free to use with automatic, free git deployments to use with something like Netlify or Vercel.
Getting started
Getting started with using our stack is extremely simple, we could just use one of the many starters to get on with developing our website.
We’ll be using xdesro’s super minimal starter to get started, which is based on npx create-nuxt-app <App name> and NetlifyCMS generating .md files to save data to.

First we should clone the repo locally and installing all the dependencies by running:
git clone https://github.com/xdesro/nuxt-netlify-cms-starter

cd .\nuxt-netlify-cms-starter\

npm install
After that we should start the development server by running:
npm run dev
Our application is now running on http://localhost:3000. Nice job!
Next we’ll install a super useful plugin called Nuxt Content, which allows us to easily query the data stored by netlifyCMS.
npm i @nuxt/content
And importing the package to use in ./nuxt.config.js by adding it to the plugins like this
/*
 ** ...
 */
modules: [
  '@nuxtjs/markdownit',
  '@nuxt/content'
],
 /*
 ** ...
 */
And voila! We’re done with all the setup! Now let’s start customizing our portfolio/blog to make it our own.
Customization
We can now customize our application by changing the landing page, or creating new pages. Nuxt makes this super easy by specifying a layout file located at layouts/default.vue which we can change to include say a navbar and a footer components. Nuxt also automatically detects files in the pages directory and routes to them when the user navigates to the page.
We can customize our landing page by changing the content of pages/index.vue to something like:
<template>
  <div>
    <h1>Hello world!</h1>
  </div>
</template>
You’ll notice that as soon as you hit save, your site live reloads to reflect the changes! Pretty cool right?
Now let’s display all our blog posts in the landing page. To do this we’ll need to edit some files so bear with me here.
First we’ll change the default saving directory in static/admin/config.yml to save our blog posts in a location where we can query them easily using the content plugin that we just installed. It should look something like this:
backend:
  name: git-gateway
  branch: master

local_backend: true

media_folder: static/img
public_folder: /img

collections:
  - name: 'blog'
    label: 'Blog'
    folder: 'content/blog'
    create: true
    format: 'json'
    slug: '{{year}}-{{month}}-{{day}}-{{slug}}'
    editor:
      preview: false
    fields:
      - { label: 'Title', name: 'title', widget: 'string' }
      - { label: 'Publish Date', name: 'date', widget: 'datetime' }
      - { label: 'Description', name: 'description', widget: 'string' }
      - { label: 'Body', name: 'body', widget: 'markdown' }
We simply edited the folder attribute to point at the root of our project instead of being inside the assets folder, and added the local_backend: true which will we use later on.
Now we should change the already written blog post’s directory to be at the root of our project. Simply copy the content folder and paste it at the root of your project.
So instead of it being ./assets/content/blog it should now be ./content/blog.
Now we can change our index to display all our blog posts in our landing page like so:
<template>
  <div>
    <h1>Hello</h1>
    <ul>
      <li v-for="post in blogPosts" :key="post.title">
        <nuxt-link :href="`/blog/${post.slug}`">{{ post.title }}</nuxt-link>
      </li>
    </ul>
  </div>
</template>


<script>

export default {
  async asyncData({ $content, params }) {
    const blogPosts = await $content('blog').fetch()

    return { blogPosts }
  },
}

</script>
This should result in the page showing us all the blog posts, as well as linking to them!

Now we need to use the new content API to display the content of each blog post, as well as changing the page dedicated to displaying all of our blog posts.
First change pages/blog/index.vue to:
<template>
  <div>
    <ul v-for="(blogPost, index) in blogPosts" :key="index">
      <nuxt-link :to="`blog/${blogPost.slug}`">{{ blogPost.title }}</nuxt-link>
      <p>{{ blogPost.description }}</p>
    </ul>
  </div>
</template>
<script>
export default {
  async asyncData({ $content, params }) {
    const blogPosts = await $content('blog').fetch()

    return { blogPosts }
  },
}
</script>
Finally, change pages/blog/_blog.vue to:
<template>
  <article>
    <h1>{{ blogPost.title }}</h1>
    <div v-html="$md.render(blogPost.body)" />
  </article>
</template>
<script>
export default {
  async asyncData({ $content, params }) {
    const blogPost = await $content('blog', params.blog).fetch()

    return { blogPost }
  },
}
</script>
Whew! That was a lot wasn’t it? But now you can start customizing and making this website your own!
Bonus: NetlifyCMS
This is optional but if you want to see how NetlifyCMS makes things super simple you can follow along, I promise it won’t take as long as getting things set up.
To start using NetlifyCMS locally we need to start a proxy server. It sounds complicated but it really isn’t, you just need to run one command in your terminal and you’re good to go!
Simply run:
npx netlify-cms-proxy-server
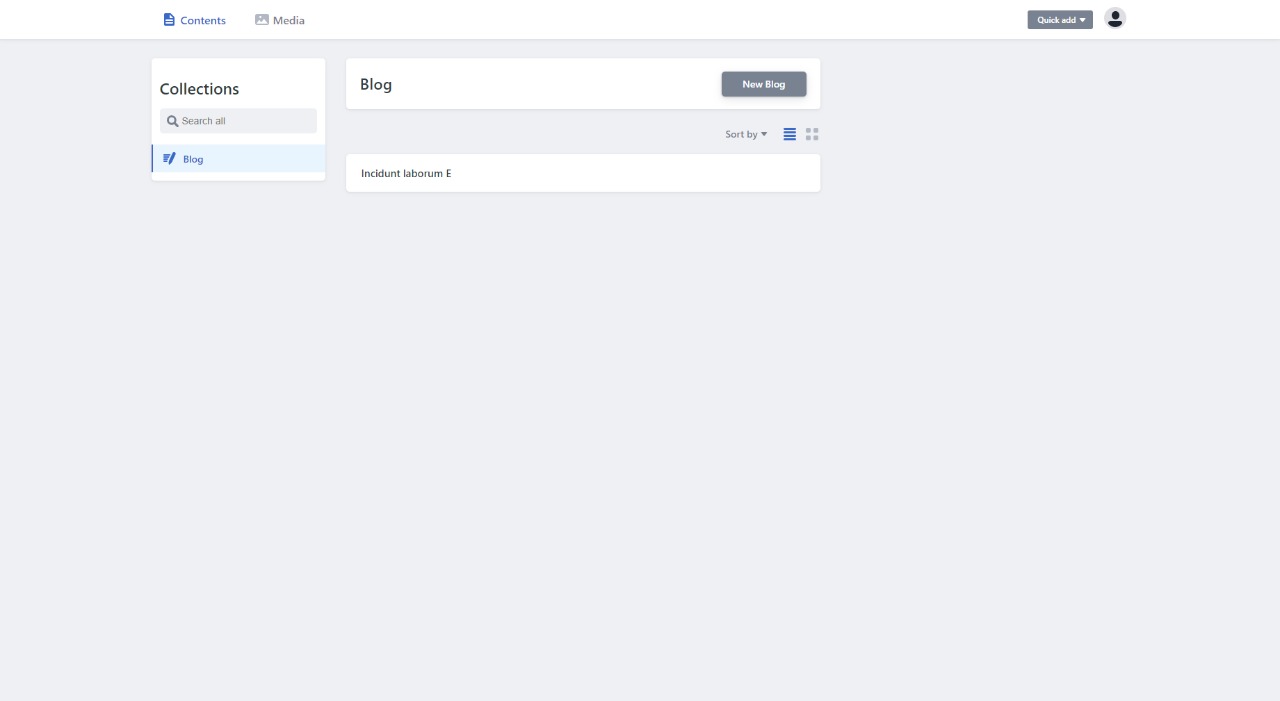
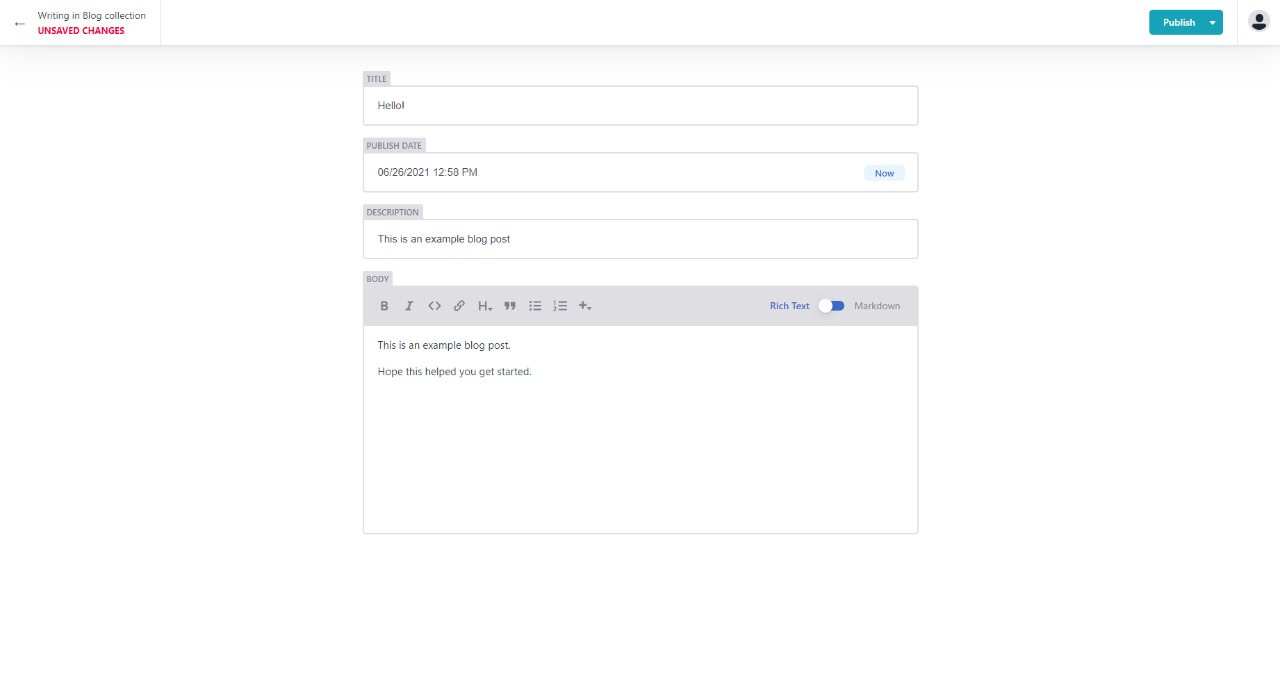
And navigate to localhost:3000/admin and you should be greeted with your admin dashboard where you can create new blog posts!

Now if we create a new blog post it should be updated in our landing page.


Conclusion
This should get you started with using Nuxt.js and NetlifyCMS to create your own awesome websites.
If you face any issues following along this article, or want to get in touch I encourage you to do so!
Hope this could help.